


If you inspect your solar panel and find there's voltage but no current, it indicates a problem. This means the panel has the potential to generate electricity, but something is preventing it from actually outputting power.
Now, let's understand the most common causes of this problem, the correct testing methods, and the tools that can help you quickly find the issue.
What Does It Mean When a Solar Panel Has Voltage but No Current?
This means your solar panel is generating voltage (open circuit), but the circuit is incomplete and therefore cannot generate current. This could be due to a loose or broken wire, a faulty inverter or charge controller, a poor connection, or an internal problem with the panel. This will prevent it from delivering power.
What Are the Common Reasons for Voltage Without Current?
When a solar panel fails to output current, you can check the following reasons to find out exactly where the problem lies.
Loose Connections or Poor Contact
Loose terminals or poor contact are one of the most common causes of abnormal voltage. Even if the voltage can be measured, poor contact in connectors (such as MC4 plugs or terminals) will prevent current from flowing properly.
Broken or Damaged Wiring
Internal wiring breaks or insulation damage can also cause an open circuit. While voltage may still be detectable (e.g., under no-load conditions), current will not flow once a load is connected.
Inverter or Charge Controller Failure
A faulty inverter or charge controller will also prevent current output. If the equipment is malfunctioning or protection mechanisms are triggered, the system may display voltage but no current output.
Open Circuit State
This occurs when the circuit is not closed (e.g., disconnected or unconnected load). In this case, you can measure the open circuit voltage (Voc), but the current will be zero.
Internal Panel Damage
A ruptured battery, failed solder joints, or a damaged bypass diode can all cause current interruption. These problems may not always be obvious, but they will affect the effective power supply to the panel.
Shading or Environmental Factors
Partial shading, dust accumulation, or temperature differences can reduce current output. In severe cases, in a series system, the current may drop to near zero.
Fuse Blowing or Protective Device Activation
A blown fuse or activated protective device (such as overload or short-circuit protection) completely cuts off the current path.

How Can You Test Solar Panel Current Properly?
Regarding the reasons why the solar panel mentioned above is unable to output current, let us now address how the solar panel should be tested.
- Load Testing (Non-Open Circuit Testing): To measure current, the solar panel must be connected to a load (such as a battery or controller); otherwise, the current reading will default to zero.
- Using a Multimeter (Series Measurement): Set the multimeter to the DC (A) range and connect it in series between the solar panel and the load. This will measure the actual current flowing through the circuit.
- Using a Clamp Meter (Safer Option): A DC clamp meter can measure current without disconnecting the power cord. Simply clamp it to the cable to read the current.
- Testing in Full Sunlight: For accurate and valid readings, it is recommended to test in a sunny and stable environment (such as midday).
- Compared to Rated Current (Isc or Imp): Check the rated current (short-circuit current Isc or operating current Imp) of the distribution panel and compare it to the measured value. A significant difference indicates a problem.
- Checking the Entire System: If the current is too low or zero, check the entire system: wiring, connectors, fuses, controller, and inverter. Troubleshooting step by step will help you find the problem.
What Tools Can You Use to Measure Solar Panel Current?
- Multimeter (Digital Multimeter): A multimeter measures voltage, current, and resistance, helping you confirm whether your solar panels are generating electricity. Note that when measuring current, it must be connected in series with the circuit.
- DC Clamp Meter: A DC clamp meter measures current without disconnecting the power cord. Simply clamp it onto the cable for quick, safe readings.
- Solar Power Meter/Solar Tester: This tool simultaneously measures voltage, current, and power output, giving you a clearer understanding of your solar panels' overall performance.
- IV Curve Tester: An IV curve tester analyzes the current-voltage characteristics of a solar panel, helping you more accurately detect performance problems or degradation.
- Thermal Camera: A thermal imager displays thermal patterns, identifying hot spots, faulty cells, or poor connections on solar panels, enabling faster fault detection.
- Insulation Tester (Megohmmeter): An insulation tester can be used to check for leaks or insulation faults in wiring, preventing faults from affecting current flow and system safety.
- Continuity Tester: A continuity tester verifies the integrity of a circuit, helping you quickly find open circuits or disconnected connections.
How Can a Thermal Camera Help Diagnose Solar Panel Issues?
Thermal imaging technology helps diagnose problems with solar panels by displaying temperature differences on the surface. For example, abnormal heat distribution, such as hot spots, damaged cells, poor connections, or shading, allows you to pinpoint the location of the fault. This is a fast, non-contact method of fault diagnosis.
If you are unsure about the results from the thermal camera, you can use other tools for verification to obtain more accurate results.
Which Thermal Imagers Are Suitable for Solar Panel Inspection?
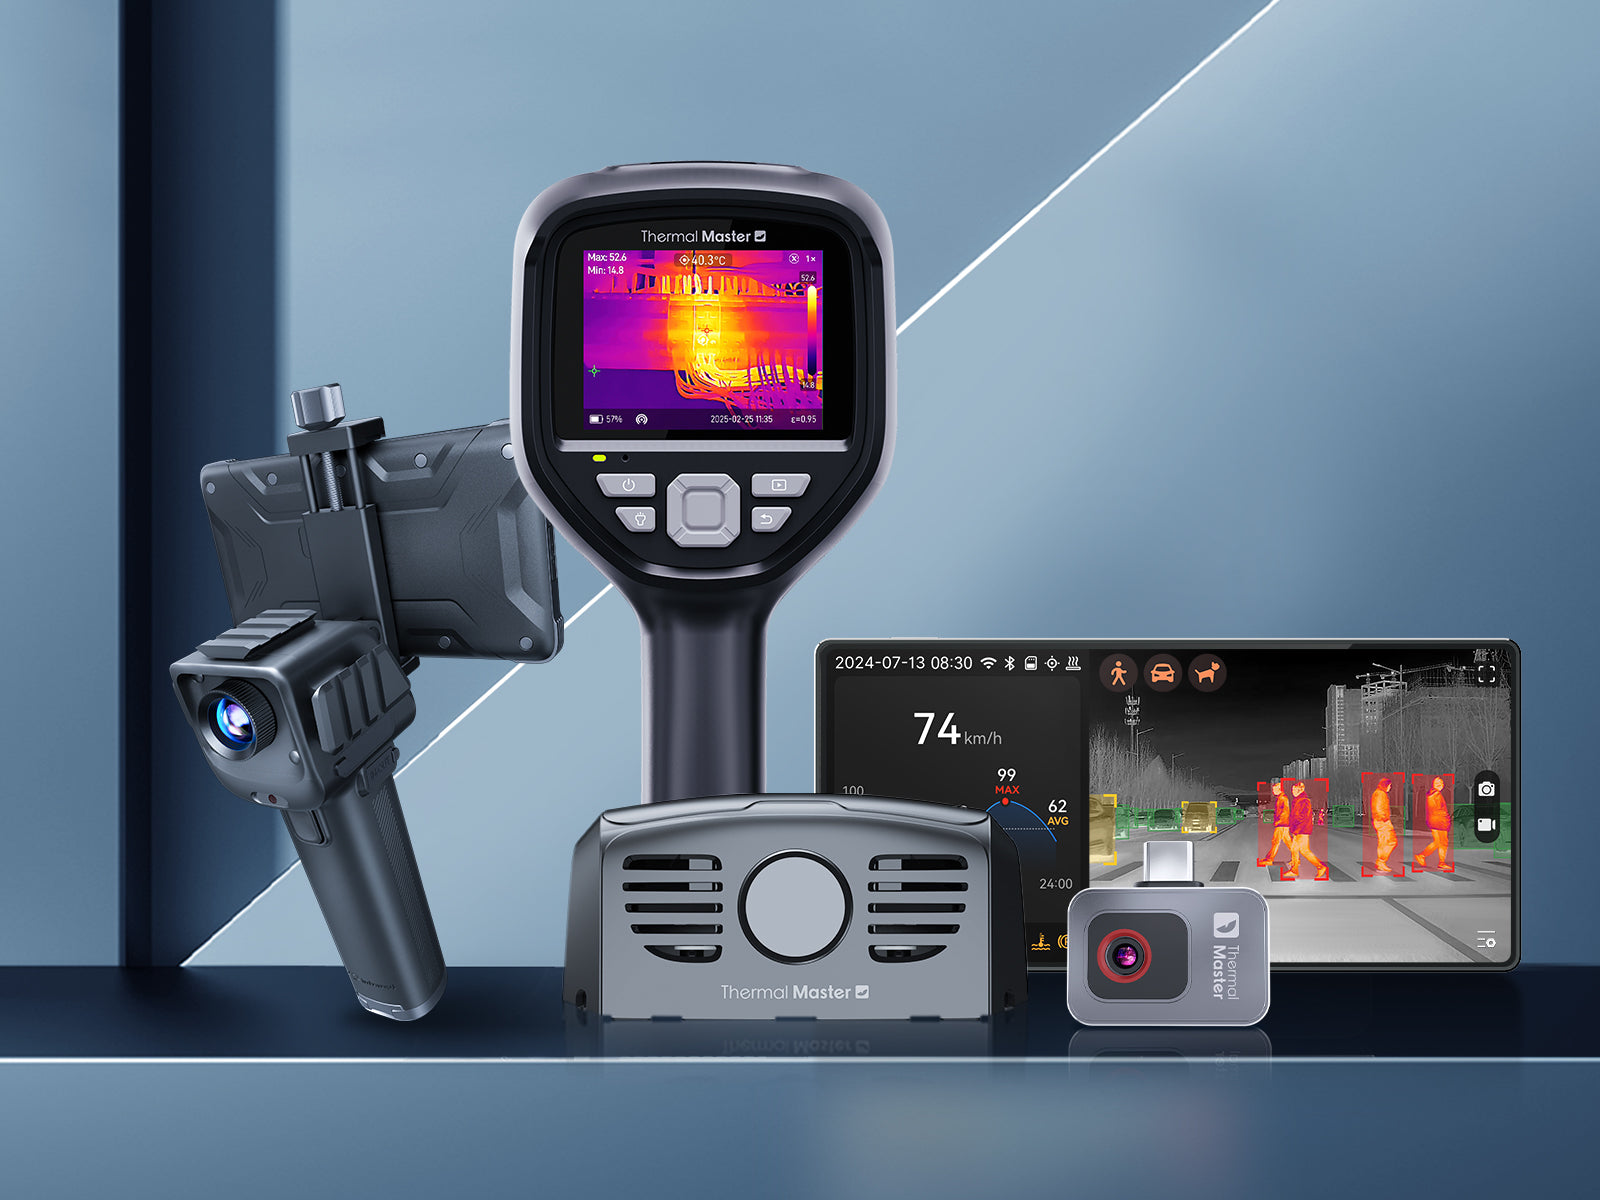
Thermal Master P3
The Thermal Master P3 features 256*192 resolution infrared sensor can be enhanced to 512*384
, <35 mK sensitivity, ±2°C accuracy, and an 8mm manual focus lens, enabling it to clearly detect hotspots, minute temperature differences, and uneven heating on solar panels.
This smartphone thermal imager is also compact and portable, allowing for quick roof inspections, home system checks, and small-scale solar panel diagnostics anytime, anywhere.
Thermal Master Thor 001
The Thermal Master Thor 001 boasts an enhanced 512×384 resolution, ≤35 mK sensitivity, and ±1.5°C accuracy, clearly detecting hotspots, faulty batteries, and subtle temperature differences between solar panels. It also features a temperature range of -20°C to 550°C, a 25Hz refresh rate, and a 3.5-inch 640×480 display, providing real-time diagnostics even outdoors.
It also has built-in macro functions and multi-point measurement capabilities to identify connectivity issues and performance losses, as well as to perform comprehensive inspections and professional maintenance of solar arrays.

What Should You Pay Attention to When Testing Solar Panel Current?
Using the wrong methods before testing the current of a solar panel can easily lead to incorrect results. Here are some points to note during routine checks:
- Test in Full Sunlight: Testing is recommended in stable, strong sunlight. Dim or fluctuating light may result in lower-than-normal current readings.
- Measure with a Load: Do not test current without a connected device. The solar panel needs to be connected to a load (such as a battery or controller); otherwise, the current reading will be zero.
- Use the Correct Settings: Check that your multimeter is set to DC (A) mode. Failure to do so will result in inaccurate readings and damage to the instrument.
- Avoid Short-Circuit Testing: Thinking of testing current by short-circuiting the solar panel? Stop immediately. This is risky for both you and your equipment.
- Check Connections First: Before testing, quickly check the wiring. Look for loose or faulty connections, which are common reasons for no detectable current readings.
- Consider Temperature: Solar panels perform differently under different conditions. For example, high temperatures can reduce current output, so be mindful when checking test results.
- Caution: Some solar panels can generate electricity even under direct sunlight. Therefore, avoid touching exposed wires and take necessary safety precautions during testing.
When Should You Seek Professional Help?
If the problem is unclear or basic tests fail to resolve it, you should consider seeking professional help. If your solar panels show voltage but no current, or if performance drops unexpectedly, it could indicate an internal fault, a system-level problem, or a safety hazard. Professionals have more specialized tools and experience, enabling them to diagnose problems more accurately and prevent further damage.
Summary
If your solar panel shows voltage but no current, the problem isn't with the panel itself, but rather with an open circuit or current limitation somewhere in the circuit. Understanding common causes can help you quickly narrow down the fault.
Furthermore, using the right tools and correct testing methods can more efficiently pinpoint the fault and restore normal power output.
FAQ
1. Can thermal imaging detect faulty solar panels?
Yes, thermal imaging technology can detect faults in solar panels by displaying differences in surface temperature. Problems such as hot spots, damaged batteries, or poor connections will manifest as abnormal heat distribution, allowing you to quickly identify issues without disassembling the system.
2. Do solar panels need to be operating during thermal inspection?
Yes, solar panels should be operational when performing thermal imaging inspection. When the system is generating electricity, faults such as hot spots, high resistance, or battery damage will produce visible temperature differences, making them easier to detect.
3. Can a smartphone thermal camera be used for solar panel inspection?
Yes, smartphone thermal imagers can be used to inspect solar panels, enabling quick inspections of small systems. They can help you find hotspots, uneven heating, or potential faults, but their accuracy may be slightly less than that of specialized handheld devices used for detailed analysis.
Related Reading:
How to Check if Solar Panels Are Working Properly?


Leave a comment
All comments are moderated before being published.
This site is protected by hCaptcha and the hCaptcha Privacy Policy and Terms of Service apply.