


When inspecting a building, what you see on the surface only reflects part of the problem. Issues like moisture buildup, gaps in insulation, or electrical faults hidden inside the building are often undetectable. This is where Thermal Master thermal imagers come in handy, using temperature differences to help you uncover hidden problems.
This guide explains what problems thermal imagers can detect in buildings and introduces which Thermal Master devices are suitable for building inspections.
What is a Thermal Imaging Camera in Building Inspection?
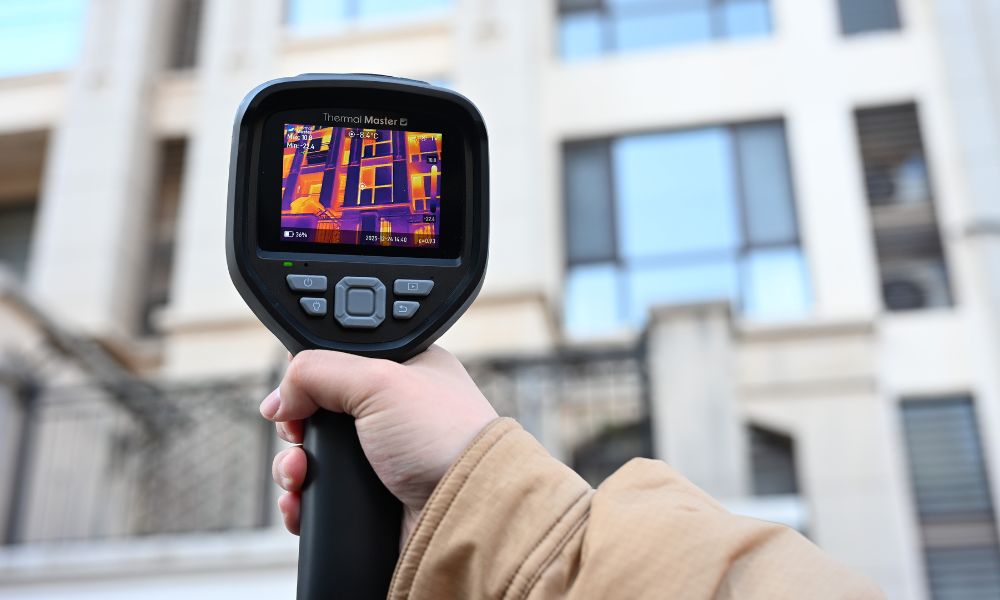
In building inspection, thermal imaging cameras are tools that can detect and visualize temperature differences on the surface of objects. Instead of displaying visible light, they capture infrared radiation and convert temperature changes into color images. Simply put, what you see is not the building itself, but how heat flows within it.
In building inspection, this allows you to "see" hidden parts. Areas that are too hot or too cold could indicate problems such as moisture intrusion, missing insulation, or electrical faults. This is an additional way to inspect for issues that might otherwise be overlooked.
Why Do Home Inspectors Use Thermal Imaging Cameras?
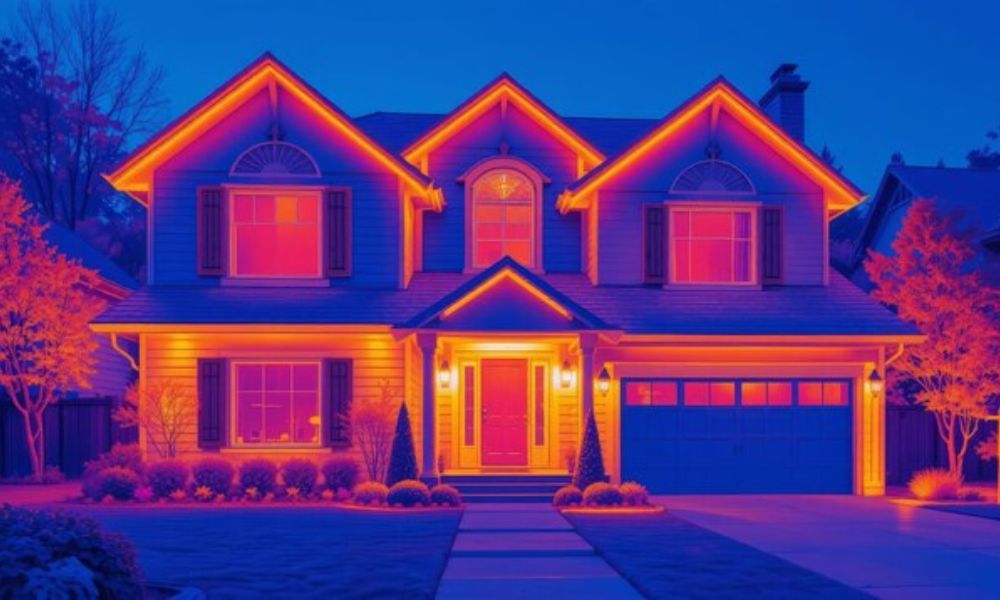
When you inspect a building, you can only see its surface. But many problems lie hidden inside: within the walls, above the ceiling, or beneath the floor. Thermal imaging allows you to detect temperature differences, uncovering hidden issues and giving you a clearer understanding of the building's internal structure.
Home inspectors use thermal imaging cameras because they make inspections faster, more accurate, and less invasive. For example, instead of opening walls to check for leaks, simply scanning the surface of the house can reveal unusual thermal patterns, determining if dampness is present.
Furthermore, the human eye misses subtle signs, while thermal imaging highlights anomalies such as poor insulation, air leaks, or overheated electrical components, allowing you to quickly identify truly critical areas.
What Can a Thermal Imaging Camera Detect in Buildings?
Dampness and Leaks
Thermal camera technology helps you spot hidden damp areas, which are cooler than surrounding surfaces, making it easier to identify roof leaks, plumbing problems, or seepage behind walls. This allows you to detect issues early, preventing mold growth or structural damage.
Insulation Gaps and Energy Loss
Thermal imagers can be used to check for missing or improperly installed insulation. These locations cause heat loss in winter and increased heat in summer. Identifying these problems improves energy efficiency and indoor comfort while reducing energy costs.
Air Leaks and Drafts
Air leaks around windows, doors, and seams can be detected by uneven temperature distribution. This appears as stripes or irregular lines on a thermal image. You can then improve sealing and maintain a stable indoor temperature based on the problem.
Electrical Problems and Overheating
Thermal imagers can show overheating of electrical components such as wires or circuits. Hot spots may indicate loose connections or overloads, which can pose safety hazards if not addressed promptly.
HVAC System Problems
You can check your HVAC system's performance by observing the temperature distribution. For example, uneven heating or cooling may indicate blocked pipes, component malfunctions, or airflow problems, all of which affect system efficiency.
Structural Defects
Some structural issues can cause temperature differences that appear in thermal camera scans. Thermal imaging scans cannot replace a comprehensive inspection, but they can help identify areas that may require further investigation.

What Are the Biggest Red Flags Found During a Building Inspection?
Thermal imaging cameras can detect minute temperature differences inside buildings, helping you see things that are otherwise invisible. Here are some signs you can look for during an inspection:
- Water Seepage and Moisture Buildup: Persistently low temperatures or uneven temperatures on walls or ceilings indicate leaks or moisture buildup. If left unaddressed, this can lead to mold growth, structural damage, and long-term aging.
- Severe Insulation Failure: Large, uneven temperature distributions on exterior walls or ceilings indicate missing or severely aged insulation. This not only affects energy efficiency but may also indicate poor building structure or long-term wear and tear.
- Electrical Hotspots and Overheated Components: Abnormally high temperatures around sockets, distribution panels, or wiring require attention. These areas may indicate circuit overload, loose connections, or component failure. Ignoring this could pose a fire hazard.
- Severe air Leaks and Poor Sealing: Strong airflow or uneven temperature distribution around doors, windows, and structural joints indicates poor building sealing. This may indicate building defects or material aging, potentially severely impacting indoor comfort and energy efficiency.
- HVAC System Imbalance or Malfunction: If you observe inconsistent temperature distributions between different rooms or within pipes, consider the possibility of inefficient HVAC systems or component failures. This can lead to uneven heating/cooling and increasing energy costs.
- Structural Inconsistencies or Hidden Defects: Thermal anomalies that are inconsistent with the building layout (such as unexpected hot and cold spots) indicate missing components, gaps, or construction problems. Therefore, a more thorough on-site inspection is necessary.
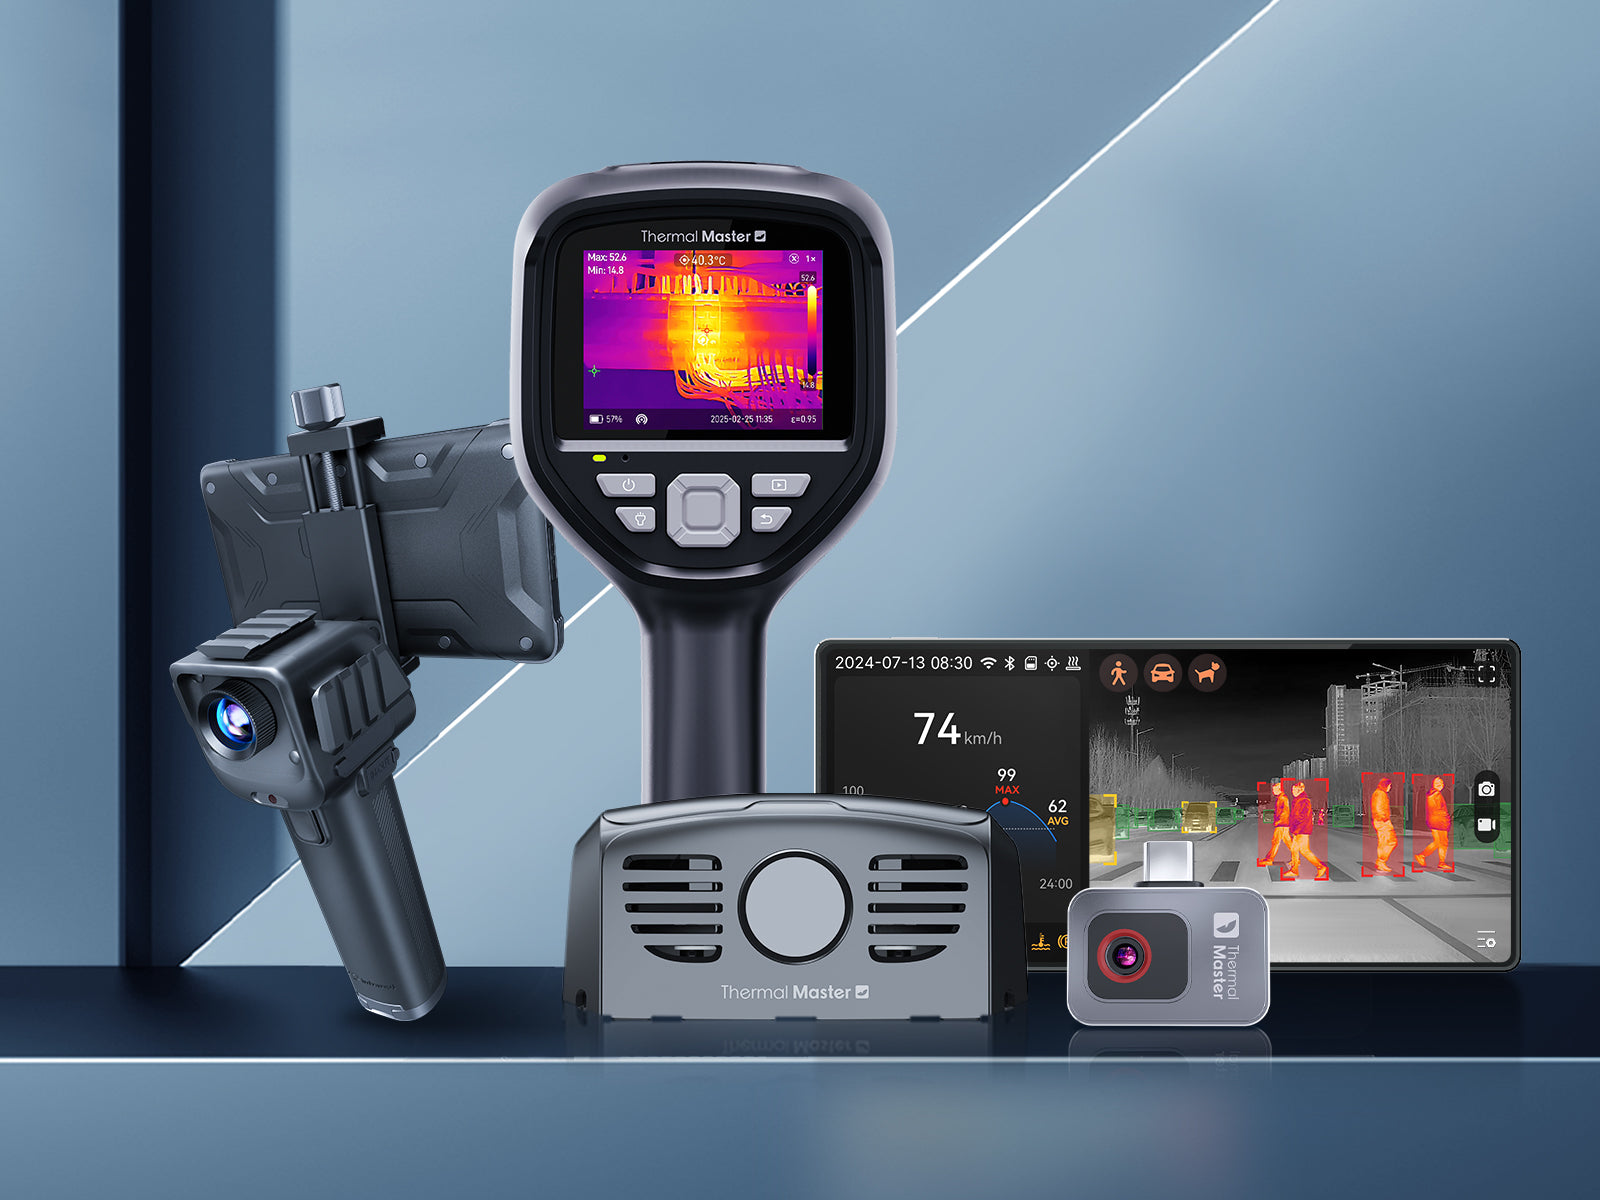
What Thermal Cameras Are Recommended for Building Inspection?
Thermal Master Thor 001 / 002
The Thermal Master Thor series thermal imagers are designed for construction sites and outdoor inspections, offering superior performance. Both models utilize X³IR ultra-high resolution (512 × 384) technology to capture clear thermal images of detailed temperature distribution.
- Thor 001: Thermal sensitivity ≤ 35 mK, accuracy ±1.5°C, suitable for in-depth energy audits and precise diagnostics. Detects finer temperature differences, such as early insulation defects or hidden moisture within structures.
- Thor 002: Equipped with ≤ 40 mK sensitivity and ±2°C accuracy, making it suitable for environments such as roof leak detection and outdoor pipe inspection, offering rugged performance and stability.

Thermal Master P2 Pro
Thermal Master P2 Pro is a full-featured mobile thermal imager compatible with iOS and Android systems. Turn your smartphone into a mobile thermal imaging camera. It utilizes X³IR technology to enhance infrared super-resolution to 512 × 384, providing clear, detailed thermal images for professional inspections.
It also boasts an accuracy of ±1.5°C and a thermal sensitivity of ≤40 mK, enabling it to detect hidden problems behind drywall, such as moisture intrusion, insulation gaps, and temperature unevenness. Therefore, it is ideal for home inspection reports and technical system diagnostics, including underfloor heating analysis.
Thermal Master P2
Thermal Master P2 is very compact and offers a 512*384 Super IR resolution and a smooth 25Hz frame rate, allowing you to quickly scan and identify temperature changes in real time.
Furthermore, it can detect confined spaces, ceiling gaps, and equipment areas, helping you detect air leaks and early moisture issues, making it a practical tool for your daily building inspections.
Thermal Master P1
Thermal Master P1 has a 320*240 Super IR resolution and can be used to identify common problems such as pipe leaks, HVAC duct malfunctions, and general temperature anomalies.
In addition, it provides an affordable solution for DIY users or basic home inspections, reliably performing routine maintenance tasks.
Product Specs Comparison Table
Below is a summary of the core specifications of the three Thermal Master products, which can help you quickly distinguish the differences between them.
|
Product Model |
Super-Resolution |
DNET |
Accuracy |
Key Selling Points |
|
Thor series |
512×384 |
≤35 / 40mK |
±1.5 / 2°C |
Standalone operation, no phone required |
|
P2 Pro |
512×384 |
≤40mK |
±1.5°C |
Dual-system compatibility for professional inspections |
|
P1 |
320×240 |
≤40mK |
±2°C |
Entry-level choice with excellent value for money |
|
P2 |
512×384 |
≤40mK |
±2°C |
Ultra-compact 10g design for tight spaces |
How Much Does a Thermal Imaging Survey Cost?
For most residential properties, the cost of a thermal imaging inspection ranges from approximately $200 to $500, depending on the size of the property and the scope of the inspection. Smaller scans may cost between $100 and $300, while more detailed inspections can exceed $800.
The final price depends on factors such as the size of the property, its accessibility, and whether other services (such as humidity testing) are included. Thermal imaging inspections can also be offered as an add-on to a standard home inspection.
If you want to save money, you can also conduct a quick inspection yourself using a thermal camera. It can help you detect problems with your home, and if significant issues are found, you can then hire a professional for a more thorough inspection.
FAQ
Can thermal imaging see through buildings?
No, thermal imaging technology cannot penetrate solid materials such as brick, concrete, or wood; it is not an X-ray. The thermal camera is works by reading the surface temperature of these materials. By detecting how heat is transferred within a building, it can help you discover hidden problems such as leaking hot water pipes, missing insulation, or temperature differences in electrical hotspots.
Can a thermal imaging camera see through concrete?
No, thermal imaging cameras cannot penetrate concrete. Concrete is a dense, opaque material that blocks infrared radiation. What the camera actually captures is the concrete's surface temperature. If there is a strong heat or cold source beneath the concrete, such as radiant heating pipes or severe leaks that penetrate to the concrete surface, a thermal imaging camera can reveal its thermal "footprint."
What would fail a building inspection?
Common issues include faulty wiring, leaking pipes, damaged roofs, foundation cracks, mold growth, or non-compliant construction. A failed home inspection isn't about minor surface imperfections; it's about issues that pose a risk or require major repairs. These are the common reasons for failing an inspection.

Leave a comment
All comments are moderated before being published.
This site is protected by hCaptcha and the hCaptcha Privacy Policy and Terms of Service apply.