Infrared thermal imagers might seem complicated at first, but a Thermal Master thermal imager is built for simplicity. You can start using it right away without any special training. With a few straightforward steps, even a first-time user can take clear thermal images in just minutes.

Why is Thermal Master Easy for New Users?
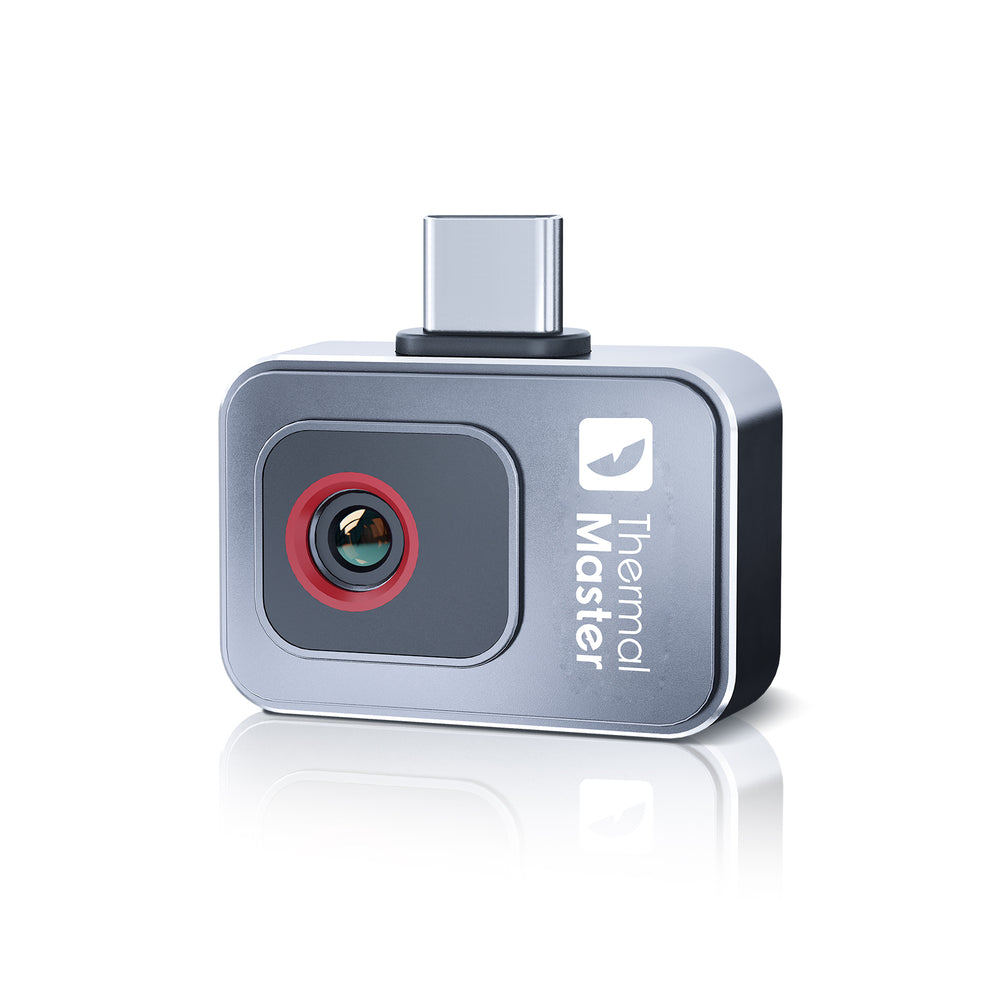
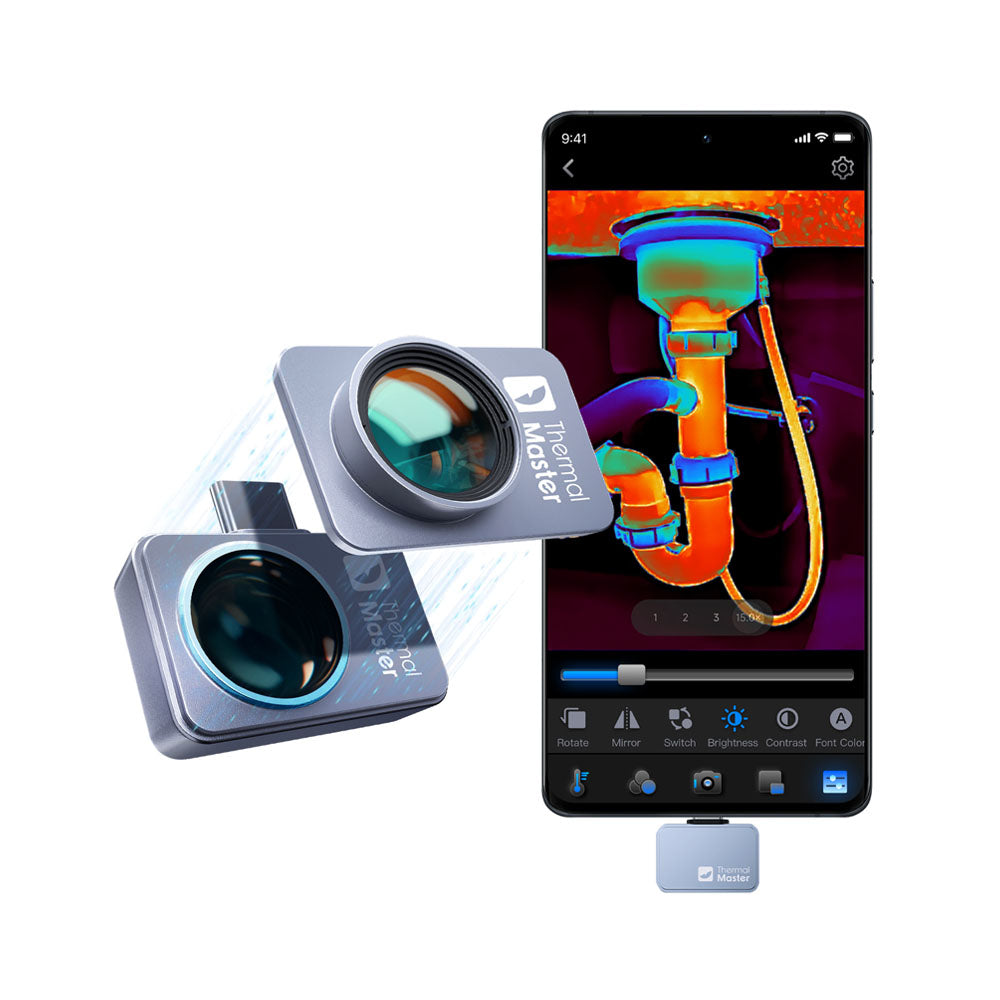
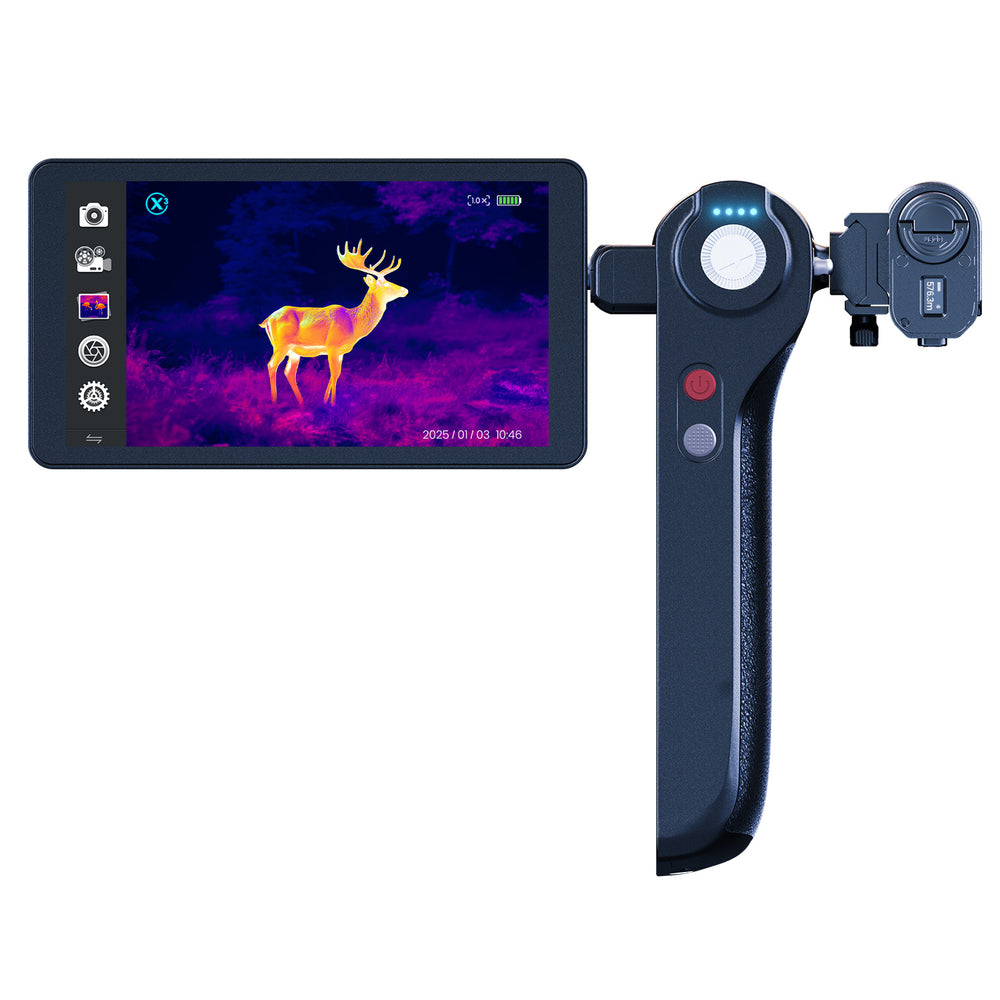
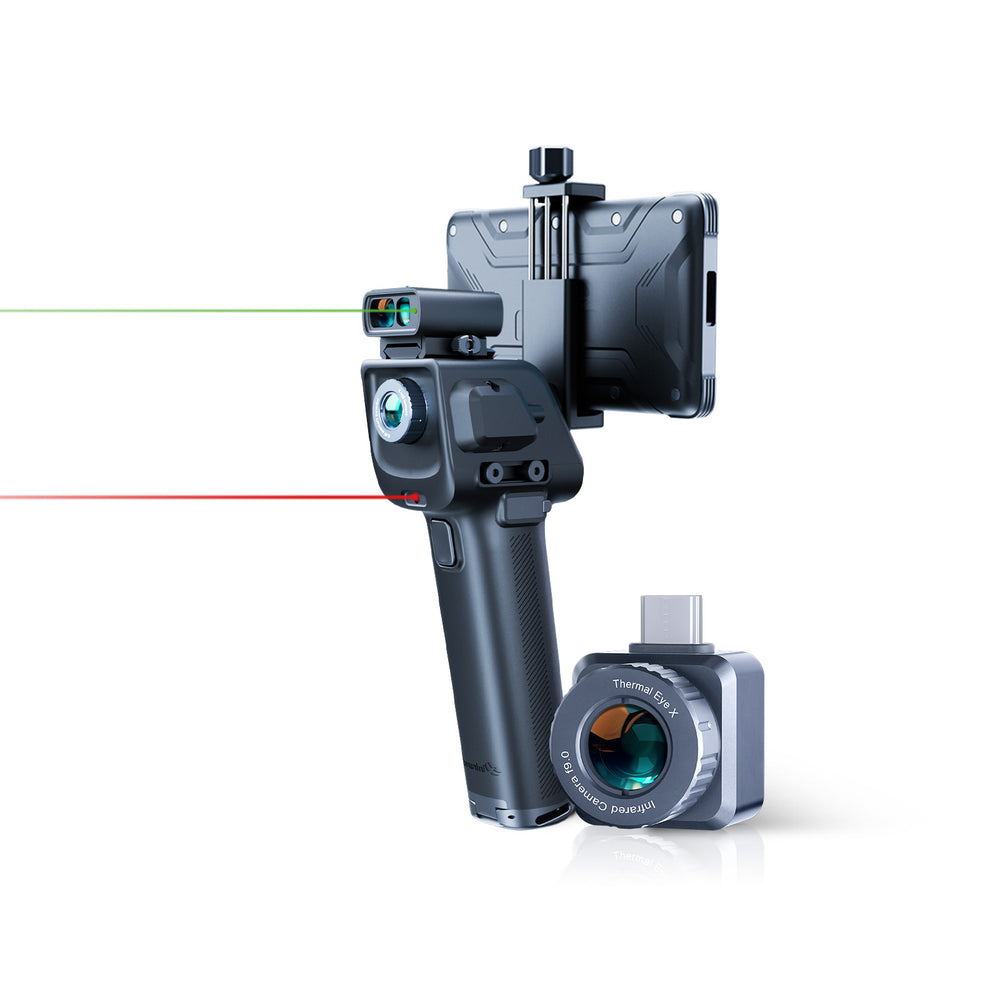
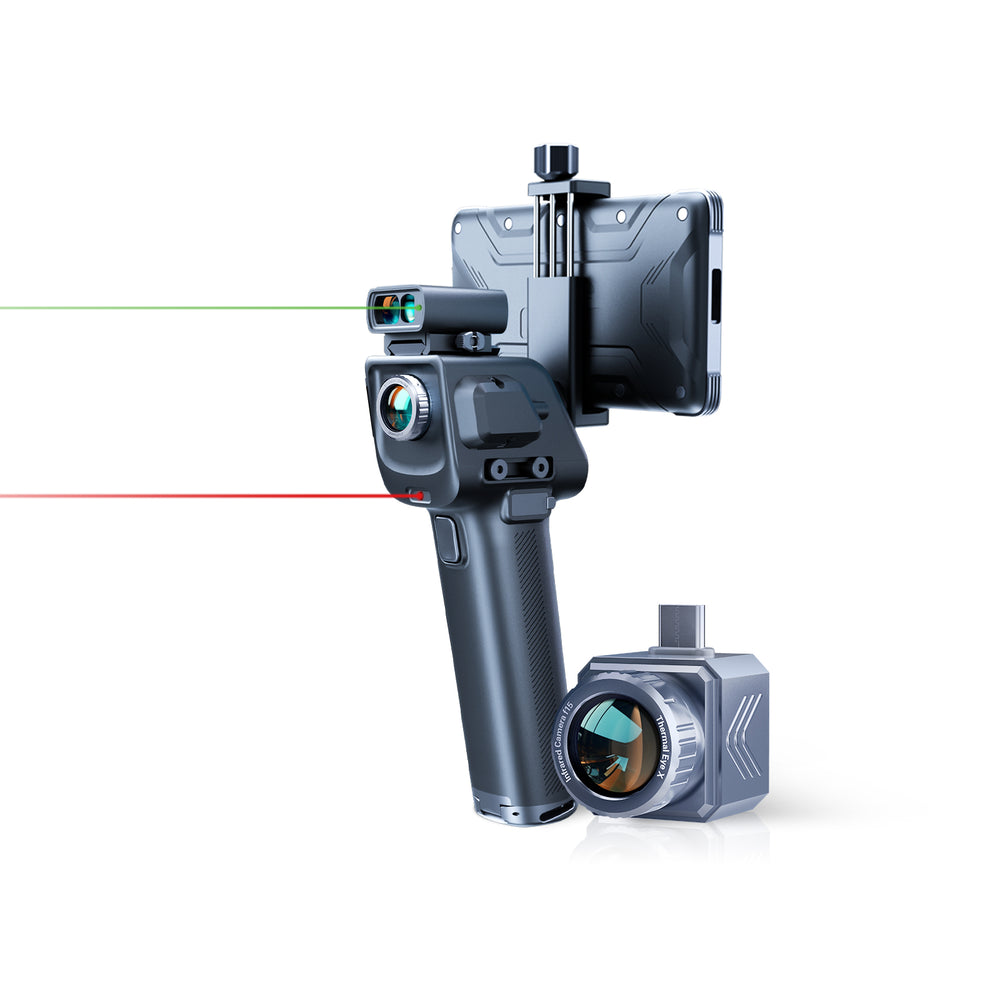
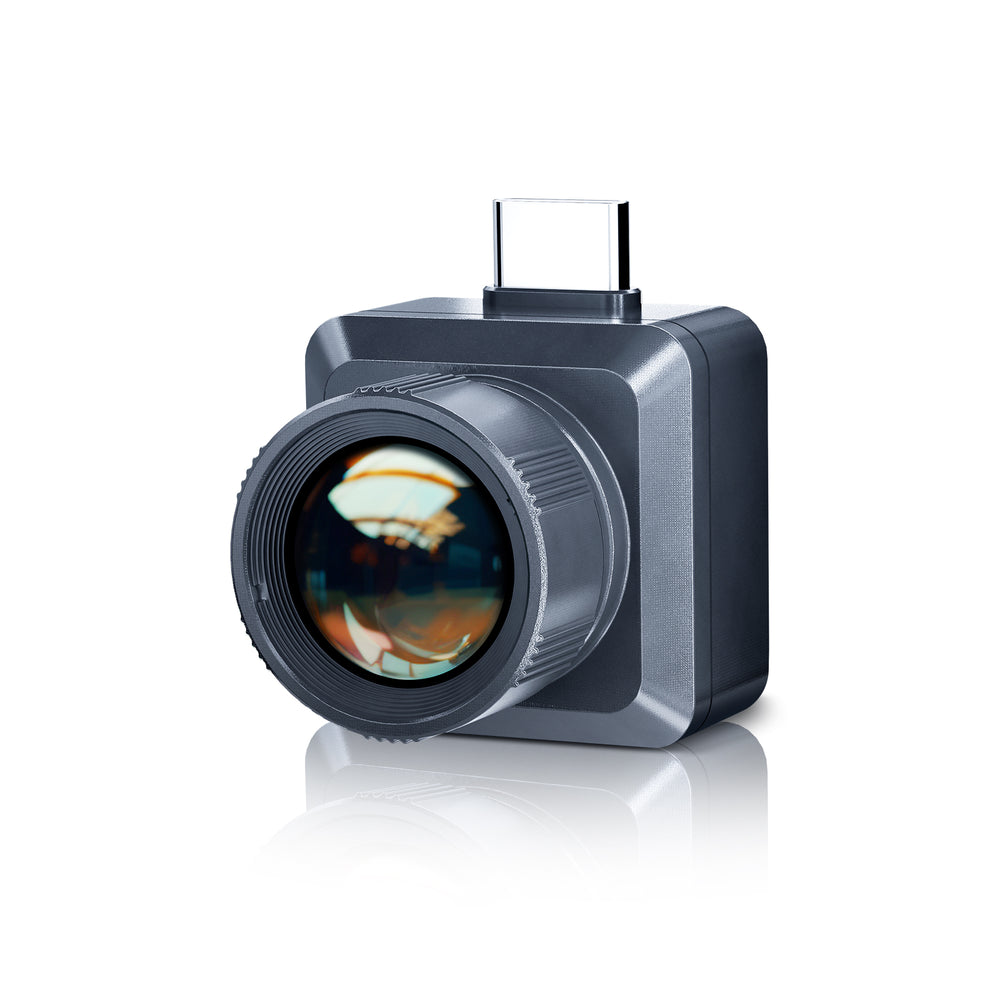
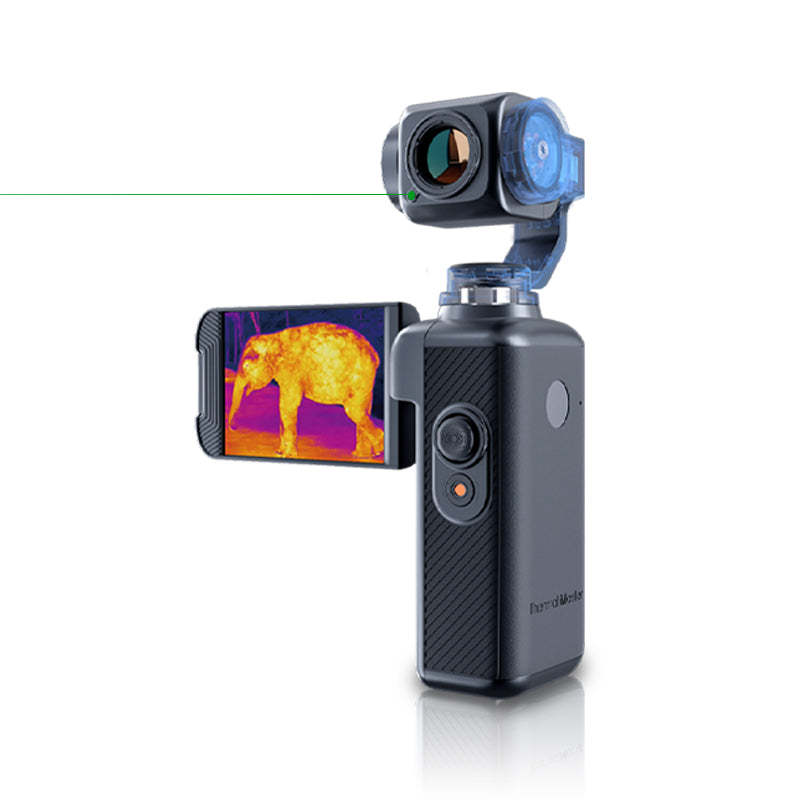
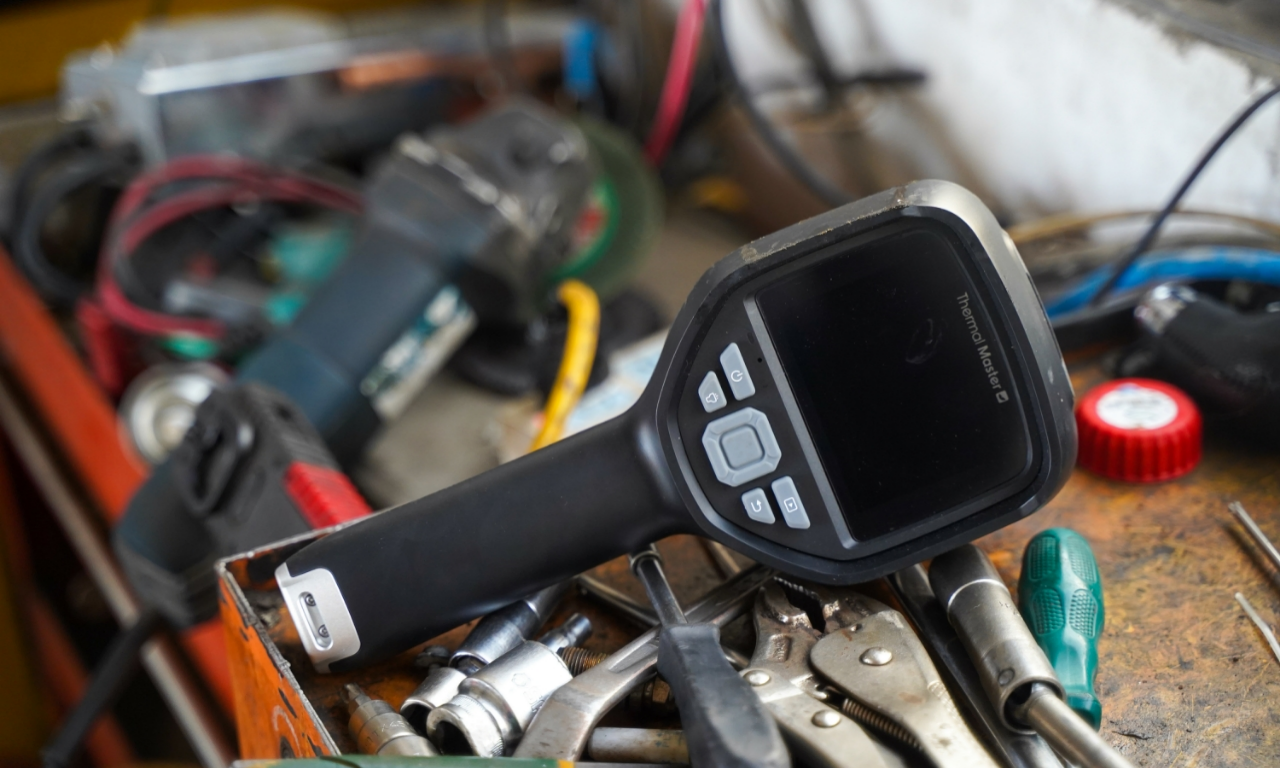
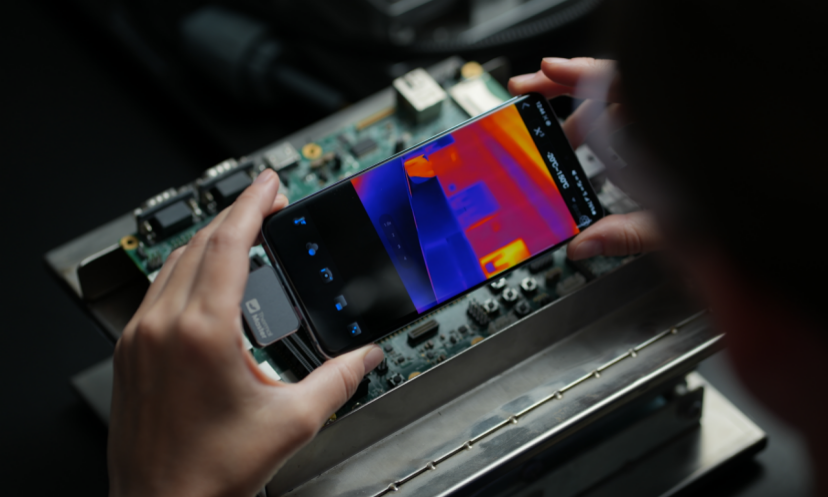
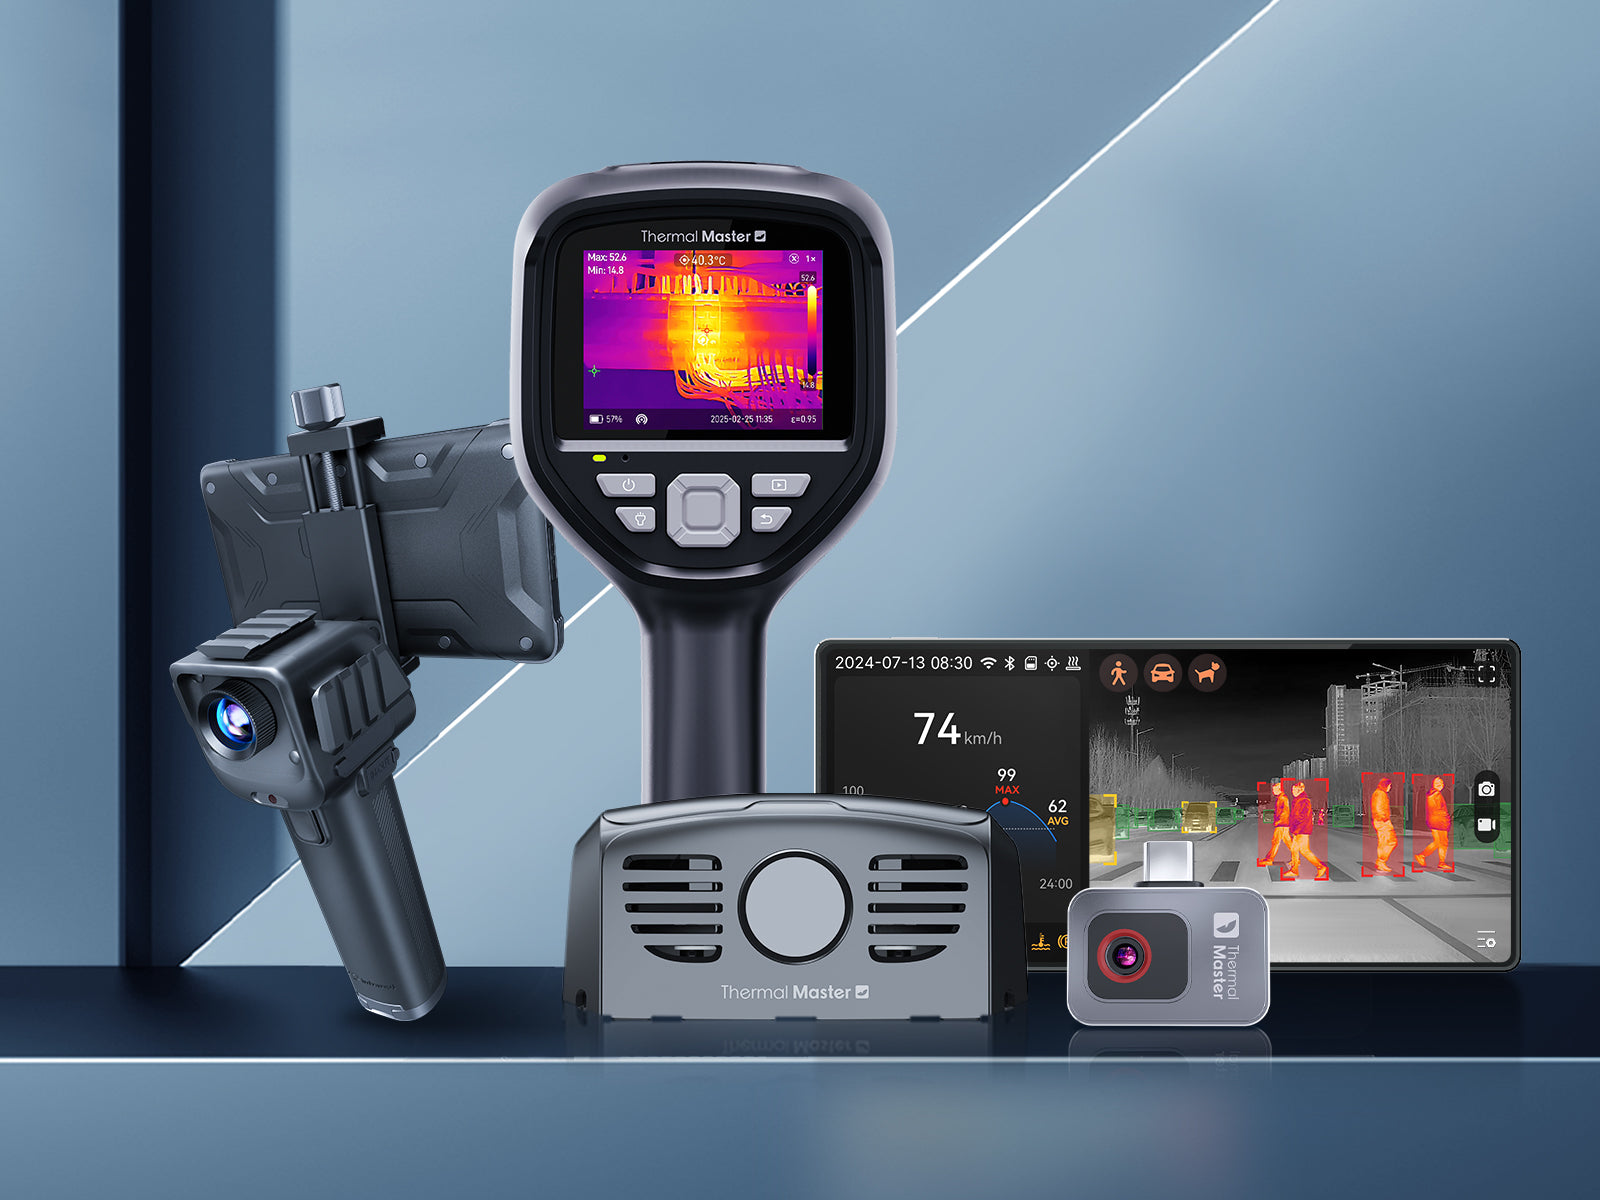
Modern Thermal Master infrared thermal cameras are designed with ease of use in mind. The controls are clearly marked, the screen shows simple icons, and smart mode automatically adjusts settings to display accurate heat patterns. The compact and lightweight build makes it comfortable to hold for extended use. The built-in Wi-Fi feature allows quick connection to a mobile app for viewing and sharing images.
Step-by-Step Setup
Step 1: Power On
Press the power button for a few seconds. In about 10 seconds, you will see a live thermal view. To pair with the app, open settings, select Wi-Fi, and follow the phone prompts.

Step 2: Aim and Focus
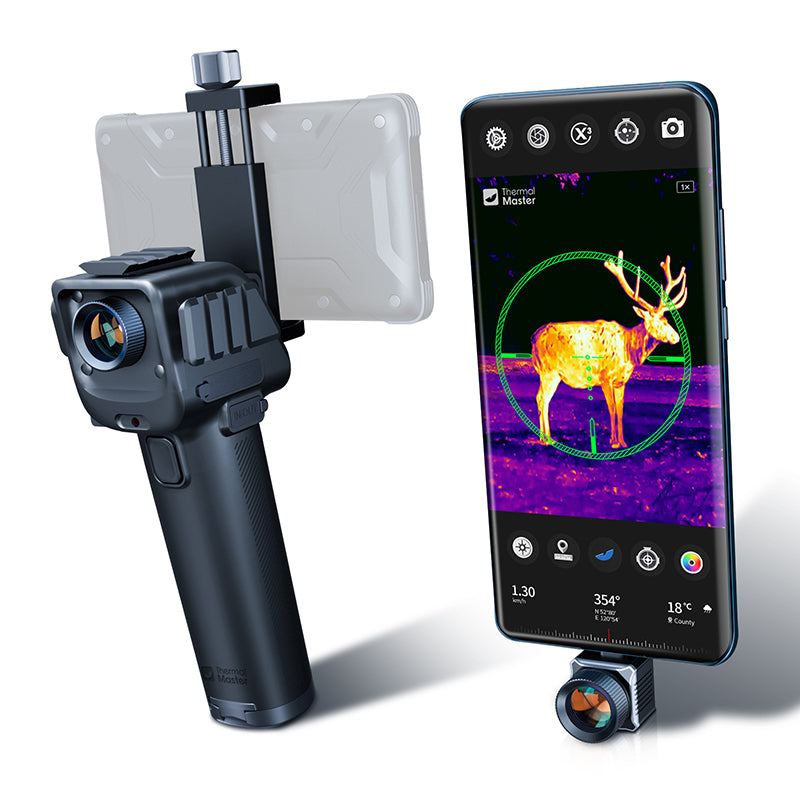
Hold the imager as you would a regular one and aim at the target, such as a wall, appliance, or piece of equipment. Most models will focus automatically, but you can move slightly closer or further if the image is not clear. Use the zoom function to see small details more clearly. For scanning a whole room, stand a few meters back to capture the full heat pattern.
Step 3: Capture and Save
Once the image is clear, press the shutter button to save it. Use the “Play” icon to review your images or delete any that are not needed. In the mobile app, you can organize images into albums for easy reference later.

Practical Uses at Home
A Thermal Master thermal imager can quickly find heat leaks around doors and windows, check if electronics are overheating, monitor refrigerator cooling performance, or spot areas of soil that may be overwatered.
Tips for Best Results
Start by taking a thermal camera of something familiar, like a cup of hot tea, so you can see how heat is displayed. Avoid direct sunlight when you are learning, as it can reduce image clarity. If an image is too dark or bright, press the auto-adjust button to let the imager optimize the view. For electrical checks, let the device run for a short time so that heat patterns stabilize.

Conclusion
Using a Thermal Master infrared thermal imager is straightforward. The clear controls, practical features, and simple setup process mean that even someone new to thermal imaging can quickly carry out home inspections or check appliances. In just a few minutes, you can be capturing accurate and detailed thermal images with confidence.
Related Reading:
How to Use a Thermal Camera to Find Leaks?
Thermal Imaging Camera Reviews: How To Choose The Right One?




Leave a comment
All comments are moderated before being published.
This site is protected by hCaptcha and the hCaptcha Privacy Policy and Terms of Service apply.