


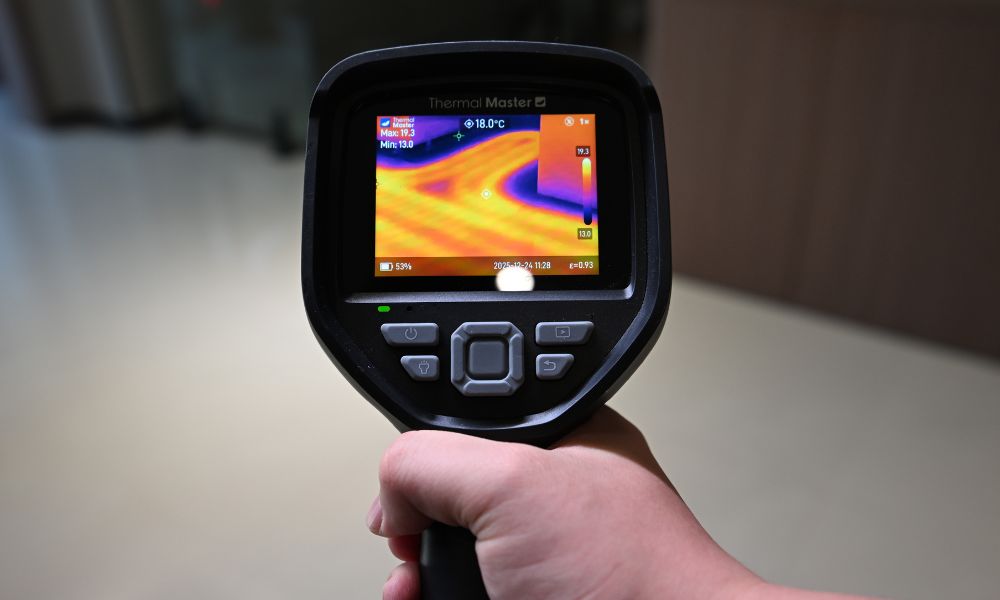
Most insulation problems are hidden behind walls, ceilings, and floors, making them difficult to detect under normal circumstances. Thermal imaging cameras, however, can display temperature differences between different surfaces, allowing you to quickly identify the problem.
Now, let's use thermal imaging cameras step by step to locate insulation gaps, detect heat loss, and improve your home's energy efficiency.
What Are the Signs of Poor or Leaking Insulation?
Initially, insulation problems may not be obvious, but changes in comfort and energy consumption will gradually reveal issues:
- Uneven Indoor Temperature: In a room, one area may be significantly warmer or cooler than another, such as near exterior walls. This indicates incomplete or uneven insulation, allowing heat to escape or enter more easily.
- Cold Drafts Near Doors and Windows: Even with all doors and windows closed, you may still feel air movement or temperature changes. This indicates gaps or air leaks in the insulation, reducing overall energy efficiency.
- Rising Energy Bills: A continuous increase in heating or cooling costs while usage remains unchanged could also be due to poor insulation. This forces the HVAC system to work harder to maintain a stable indoor temperature.
- Uneven Heating and Cooling on Walls and Ceilings: Touching the walls of a living room or bedroom may feel colder in winter and hotter in summer. This indicates gaps in the insulation or thermal bridges beneath the surface.
- Dampness or Condensation: Insufficient insulation can lead to damp patches, condensation on windows, and even mold growth. Temperature differences cause moisture to accumulate gradually.
- Rooms that are Difficult to Heat or Cool: No matter how long the system runs, the room cannot reach a comfortable temperature. This indicates poor insulation and excessive heat loss.
Can a Thermal Camera See Through Insulation?
A thermal camera cannot actually penetrate insulation materials. However, they work by detecting temperature differences on the material's surface. This displays patterns of heat loss or absorption (such as cold or hot spots), helping you identify areas where insulation may be missing, compressed, or leaking. This allows you to do so without opening walls or ceilings.

Why Use a Thermal Camera for Insulation Inspection?
Insulation problems are mostly hidden behind walls, ceilings, or floors, making them difficult to detect with the naked eye. However, thermal imaging cameras can quickly and effectively identify these problems by displaying temperature differences and pinpointing their exact location.
- Non-invasive Inspection: Insulation performance can be assessed without prying open walls, ceilings, or floors, avoiding the need to break down walls to check for leaks, reducing damage and additional repair costs.
- Instant Visualization: Thermal imagers use color changes to display temperature differences in real time. This allows you to quickly identify abnormal areas without relying on guesswork or time-consuming manual inspections.
- Detecting Hidden Heat Loss: It can also detect unseen problems such as air leaks, missing insulation, and thermal bridging. These hidden problems are major causes of energy inefficiency and are difficult to detect using traditional methods.
- Improving Energy Efficiency: By using thermal imagers to promptly identify weak points in insulation, you can take targeted measures to reduce heat loss in winter and heat absorption in summer, maintaining stable indoor temperatures and lowering long-term energy costs.
- Faster and More Efficient: It can scan large areas, such as walls, ceilings, and roofs, quickly. Compared to manual inspections or repeated testing, thermal imaging technology significantly improves efficiency and shortens inspection time.
- Suitable for Different Users: Thermal imagers can be used for quick DIY inspections as well as more detailed professional inspections. Whether you're inspecting a room or an entire building for faults, it can adapt to different usage scenarios.
How to Use a Thermal Camera to Check Insulation?
Inspecting insulation layers with a thermal camera is relatively simple, but the results must be determined according to the specified conditions and standards. Below are the methods for using a thermal imager and precautions for interpreting the results:
Creating a Temperature Difference
For reliable test results, a significant temperature difference (approximately 10–15°F) should exist between indoors and outdoors. This allows for a clearer thermal camera showing heat loss or absorption, making it easier to identify areas with weak insulation.
Scanning Key Areas
Focus on walls, ceilings, windows, doors, and corners, as these are the most common areas of heat loss. During scanning, move the thermal imager slowly and steadily to ensure that even small temperature changes are not missed.
Looking for Anomalies
Pay attention to areas that are significantly different from surrounding surfaces, such as unexpected hot and cold spots. These irregular patterns indicate gaps in the insulation, air leaks, or structural thermal bridges.
Comparing Similar Surfaces
Inspect multiple areas of the same wall, ceiling, or room. If one area exhibits a significantly different temperature pattern, it indicates uneven insulation or localized defects, requiring further inspection.
Choosing the Appropriate Inspection Time
Early morning or late evening are the best times for inspection, as temperature differences are more stable during these times. However, avoid scanning in direct sunlight or strong winds, as these can affect surface temperature and lead to inaccurate results.
Capturing and Reviewing Images
Save thermal imaging images or videos during the inspection process for later analysis. A detailed review of these images or videos can help you determine inspection results, compare different areas, and record areas requiring repair or further evaluation.
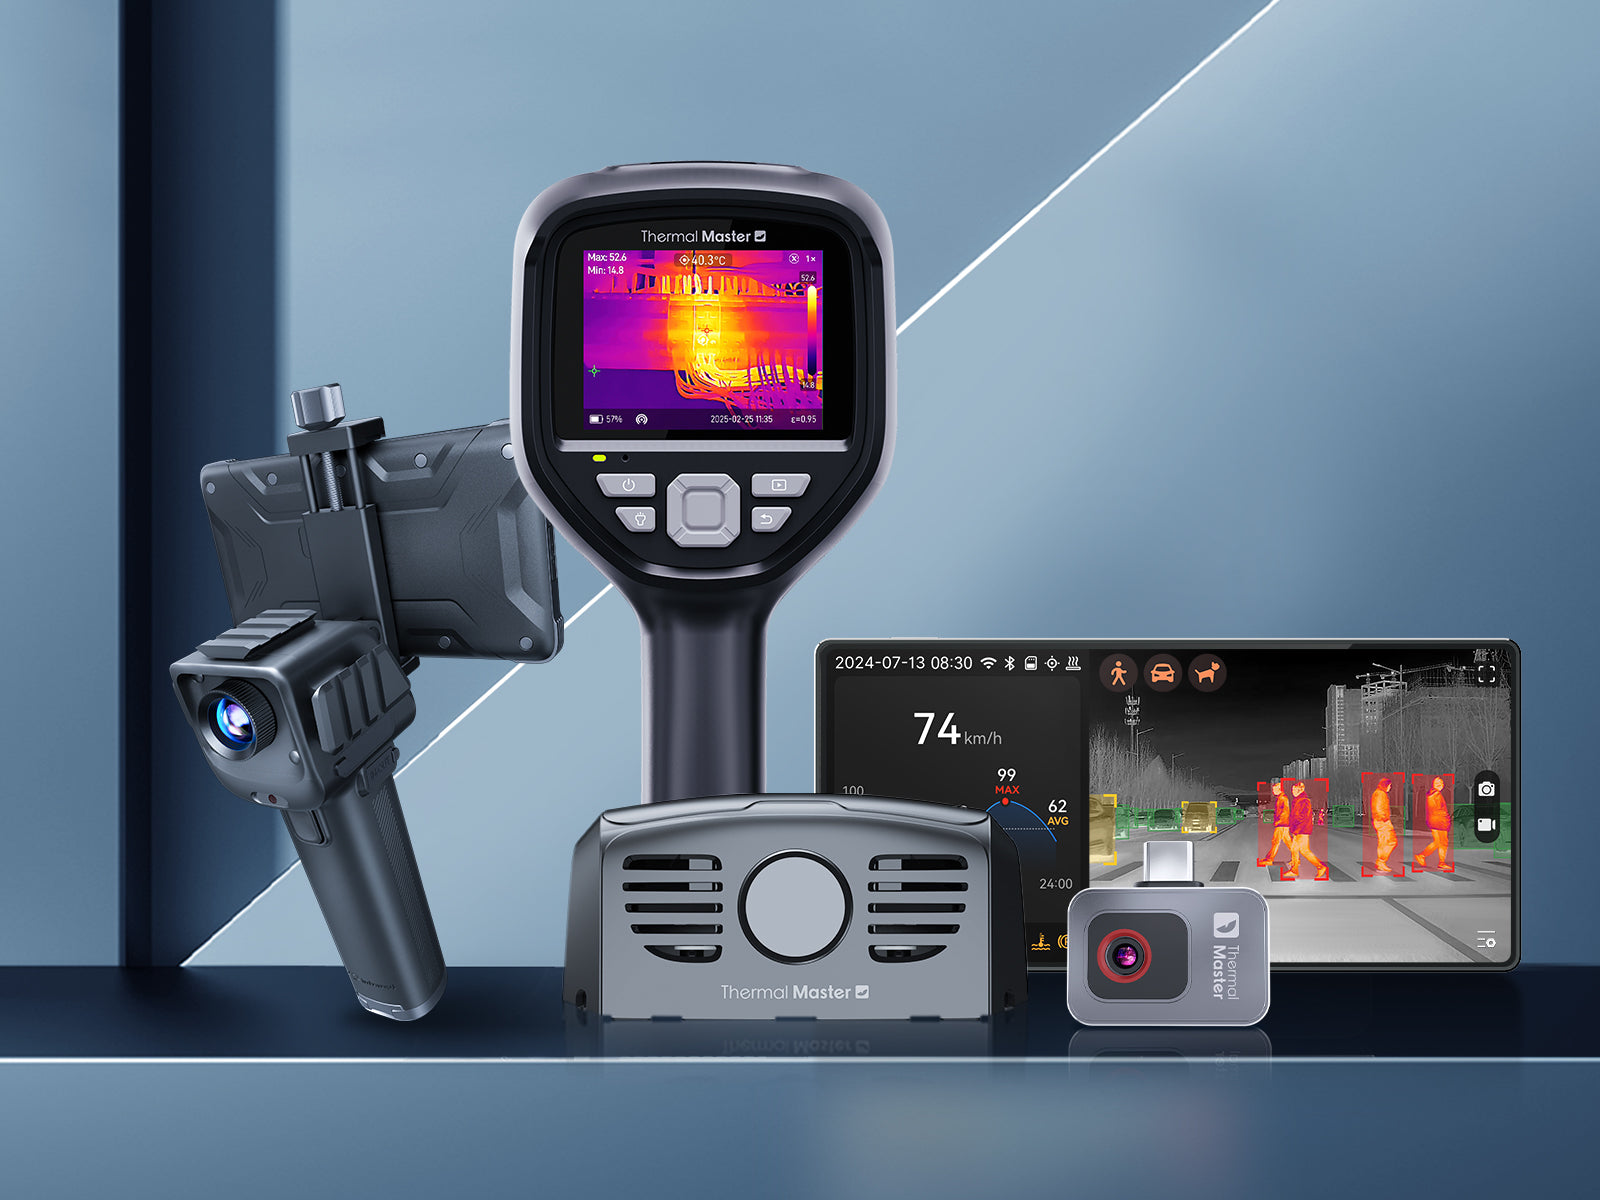
Which Thermal Cameras Are Best for Inspecting Insulation?
Thermal Master P1
The Thermal Master P1 is an entry-level smartphone thermal imager equipped with a 160*120 resolution infrared sensor. Using X³IR technology, the resolution is increased to 320×240, allowing you to clearly identify temperature differences, such as cold spots on walls or gaps around windows.
It measures from -20°C to 600°C with an accuracy of ±2°C, providing reliable readings for everyday use. Furthermore, its plug-and-play design makes it highly portable and practical, quickly identifying insulation issues.

Thermal Master P2 Pro
The Thermal Master P2 Pro uses a 256×192 resolution VOx sensor, also employing X³IR technology to increase the resolution to 512×384, providing clearer images and sharper edge details. It also boasts a thermal sensitivity of ≤40mK and an accuracy of up to ±1.5°C, enabling it to detect subtle temperature differences on walls, ceilings, and window frames.
It also features an 8mm manual focus lens for close-up inspection, and a 25Hz refresh rate for smoother scanning. Compatible with Android and iOS devices, it's ideal for home energy audits and professional diagnostics.
Thermal Master P3
The Thermal Master P3 mobile thermal imager is equipped with a 256×192 resolution infrared sensor, which also utilizes X³IR technology to boost the resolution to 512×384, providing clear and sharp thermal images. With a thermal sensitivity of ≤40mK and an accuracy of ±2°C, it can detect minute temperature differences and help identify insulation gaps, thermal bridges, and localized heat loss.
It also features manual focus for better image control at different distances, making it easier to capture details in specific areas. It can also combine multiple measurement modes and app-based analysis functions for close-up and detail inspection.
Thermal Master Thor002
The Thermal Master Thor002 is a handheld thermal imager suitable for large-scale professional insulation inspections. It boasts an infrared resolution of 256×192, which can be boosted to 512×384 via Super IR technology, while also possessing a thermal sensitivity of ≤40mK, enabling the detection of minute temperature differences.
Its temperature measurement range is -20°C to 550°C, and it features a 3.5-inch IPS display (640×480) and a battery life of up to 10.5 hours, allowing for extended inspection operations without relying on a smartphone. Furthermore, it incorporates IR-Fuse dual-light fusion technology, enabling faster scanning of walls, roofs, and building facades for a better understanding of the structure.
Summary
Using a thermal imager is a simple and effective way to detect insulation problems, allowing for intrusive inspections. By scanning temperature differences in walls, ceilings, and windows, you can identify areas of heat loss, air leaks, and poor insulation, enabling you to take targeted measures to improve overall energy efficiency.
In addition, Thermal Master offers four thermal imagers that can detect leaks, all providing excellent performance. They are good choices if your home needs them.
Related Reading:
How to Use a Thermal Camera for Home Inspection?
How to Use a Plumbing Thermal Imaging Camera for Plumbing Inspections?
Thermal Imaging Camera for Building Inspection: A Complete Guide


Leave a comment
All comments are moderated before being published.
This site is protected by hCaptcha and the hCaptcha Privacy Policy and Terms of Service apply.