


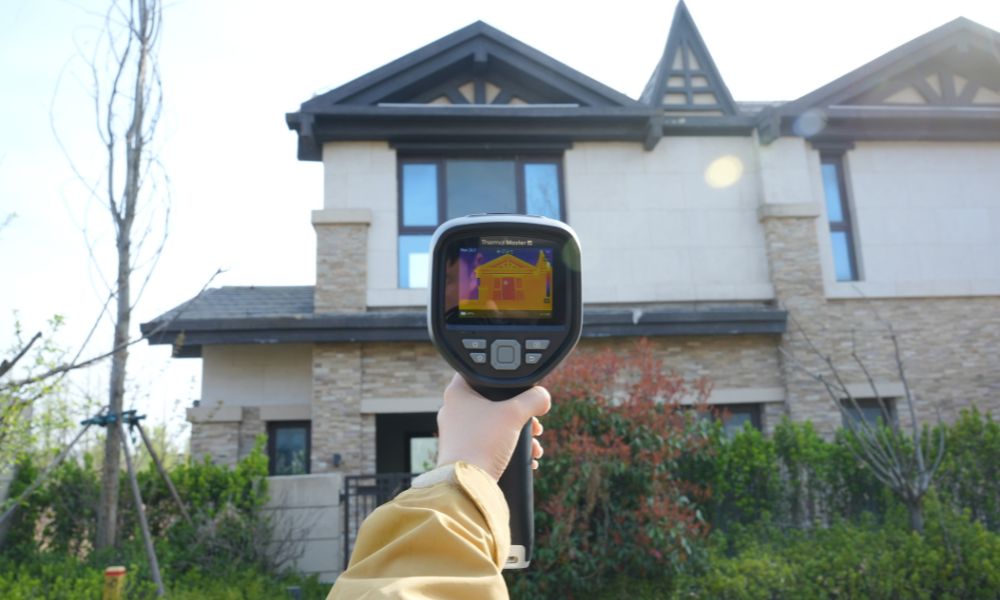
A suitable infrared thermal imager can help you quickly and accurately detect hidden problems in your home, such as dampness, insulation defects, air leaks, and electrical hotspots, thus ensuring home safety and avoiding higher repair costs.
Next, let's look at how to use thermal imaging cameras for home inspections, and which thermal imagers are best suited for home inspections.
Why Use a Thermal Camera for Home Inspection?
A thermal camera can help you spot moisture patterns, insulation gaps, air leaks, and overheating components that may be easy to miss. Many home inspectors have used thermal cameras for years because they can reveal issues that are otherwise hard to confirm quickly.
The thermal camera is also fast. You can scan a wall, ceiling, or electrical panel in seconds and decide where you need a closer check, a moisture meter reading, or a specialist.
What Can a Thermal Camera Reveal During a Home Inspection?
- Heat Loss And Missing Insulation: You can spot cold points in exterior walls, attic hatches, recessed lights, and rim joists where insulation is thin or missing.
- Air Leakage and Drafts: You can see temperature differences around windows, doors, baseboards, and penetrations that often drive comfort issues and higher bills.
- Moisture Intrusion Patterns: Water often changes surface temperature as it spreads and evaporates. A thermal camera can help you choose where to verify with a moisture meter.
- Plumbing Leaks And Wet Building Materials: You can scan under sinks, behind toilets, around tubs, and along pipe runs to find suspicious cool zones and follow the path.
- HVAC Supply and Return Issues: You can confirm whether vents are delivering air consistently, detect duct leakage symptoms, and identify rooms that are not conditioning evenly.
- Electrical Hot Spots: Overloaded breakers, loose connections, or failing components often show abnormal heating. A thermal camera helps you find which breakers or lugs deserve immediate attention.
What Is the Biggest Red Flag in a Home Inspection?
During a home inspection, be vigilant for issues such as water leaks and electrical problems, as these can affect safety or lead to expensive repairs. For example, damp areas on ceilings or walls may indicate a water leak, while abnormally hot circuit breakers in the electrical panel suggest a potential hazard. If you notice these signs, use a moisture meter to confirm, stop any repairs, and contact a licensed professional for inspection and repair.

How to Use a Thermal Imaging Camera for Home Inspection?
Thermal imaging cameras used for home inspections can detect temperature differences, revealing hidden problems such as insulation gaps, water leaks, or electrical faults. Here's how to use a thermal imager to inspect your home:
Step 1: Preparation Before Inspection
To ensure accurate measurements, provide a temperature difference of 10–15°F between the inside and outside of the building. Wait until the building's temperature has stabilized and minimize airflow to obtain accurate readings.
Step 2: Scan the Building Envelope
First, scan the areas that are most prone to heat loss, such as exterior walls, windows, doors, and ceilings. If you find cold spots around the windows, this indicates air leaks or poor insulation. Also, pay attention to corners and wall junctions, as these are the most likely places for thermal bridging to occur.
Step 3: Safety Check Electrical Systems
Use the thermal imager to inspect electrical panels, outlets, and switchgear for abnormal heat distribution patterns. Localized hot spots indicate circuit overload or loose connections. Always maintain a safe distance from live components, as thermal imaging is a non-contact inspection tool.
Step 4: Identify Moisture and Water Leaks
Focus on areas such as bathrooms, kitchens, basements, and areas near the roof. Cooler, irregular patterns often indicate moisture due to evaporation. Also, check around pipes and exterior walls for suspected water leaks to ensure accuracy.
Step 5: Check HVAC and Insulation Performance
Inspect HVAC vents for uneven temperature distribution, which may indicate duct leaks or blockages. Scan ceilings and attic access points to check for gaps in insulation. Missing or compressed insulation will be clearly visible on the thermal imager. These areas will affect comfort and energy efficiency.
Step 6: Document and Interpret Results
Take thermal images and regular photographs to document your inspection process. Interpret anomalies in context, considering factors such as materials, sunlight, and airflow. Not all temperature differences indicate a problem. Proper interpretation ensures the reliability of your inspection results.
Do Home Inspectors Use Thermal Cameras?
Yes, many do. Thermal cameras have been used in home inspections for years because they can find roof leak indicators, insulation anomalies, moisture patterns, and electrical hot spots that may not be visible during a standard walkthrough. Inspectors use it because it improves the quality of the report and helps you make faster, better decisions.
How Much Does a Thermal Imaging Inspection Cost?
Costs depend on where you live, the size of the property, and whether thermal imaging is included in a full inspection or offered as an add-on. In most markets, you will see pricing in these ranges:
- United States: add-on typically $150–$250, standalone thermal check often $200–$500.
- Canada: commonly $300–$500+, depending on scope.
- United Kingdom: often £199–£365 for a home survey, with wider ranges up to £600 for larger properties.
- Australia: A thermal add-on can cost around AUD $50 with a pre-purchase inspection; standalone scans and leak-focused visits typically range from AUD $300 to AUD $ 400 or more.
If you are using a thermal camera for a specific problem, such as a suspected leak or an electrical hotspot, pricing is usually driven by the time spent on site and the level of detail in the report, rather than the camera itself.
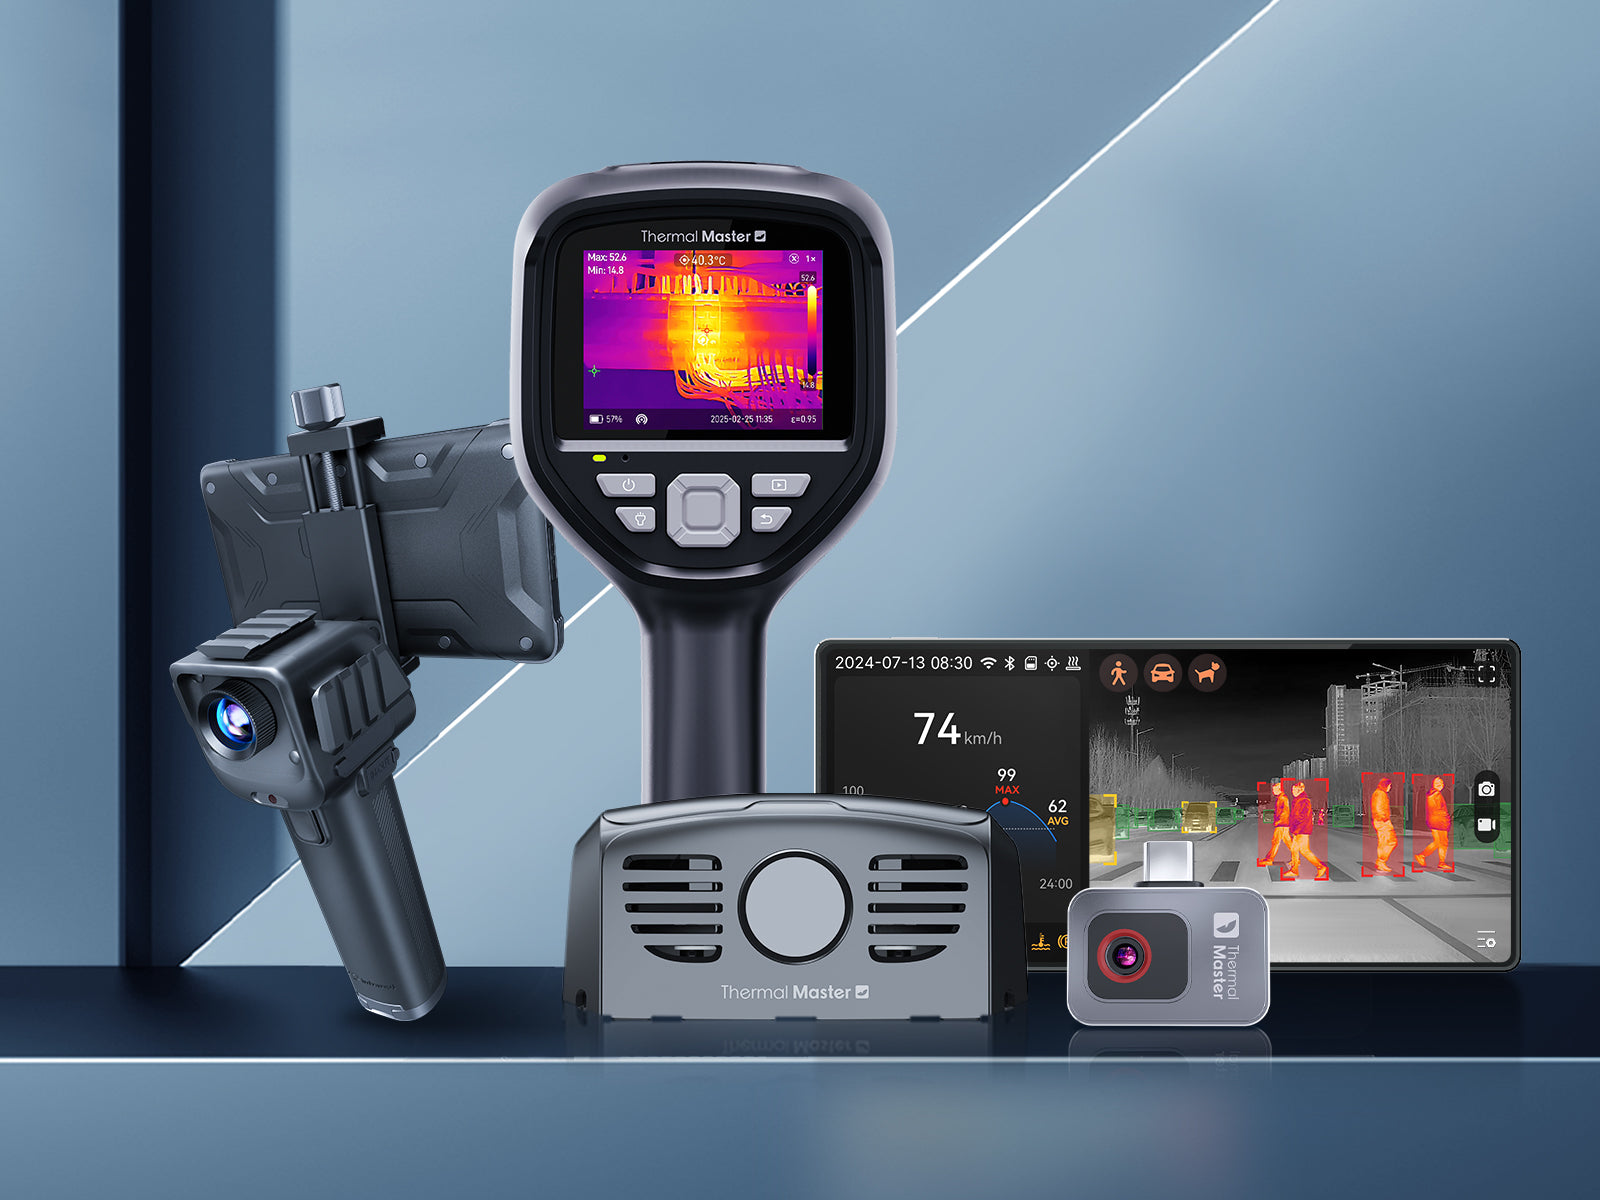
Best Thermal Camera for Home Inspection
In the previous section, we learned how to inspect a house. Now, let’s explore the three thermal imaging cameras from Thermal Master and see how each can help you perform effective home inspections.
Thermal Master P1
The thermal master P1 offers a compact, phone-powered thermal imaging solution designed for users who need a ready-to-go tool for home diagnostics, electrical checks, HVAC work, or everyday troubleshooting. Its cross-device compatibility and professional-grade measurement tools make it a reliable option whether you're using an Android device or a Type-C iPhone.
Key Features:
- Portable, Pocket-Sized Design: Lightweight and compact, the P1 is easy to carry and ready for inspections anytime.
- Clear 320×240 X³IR Thermal Resolution: Provides detailed thermal imaging for heat loss, electrical hotspots, or mechanical issues.
- Wide Temperature Range: Measures from -4°F to 1112°F with ±2°C accuracy for reliable readings in extreme conditions.
- Cross-Platform Compatibility: Works with Android and Type-C iPhone models, letting you use one device for multiple platforms.
- Instant Photo & Video Capture: Capture and share thermal images or videos directly on your phone.
- Pro Measurement Tools: Includes 15 modes, smart alarms, isotherms, and adjustable settings for precise temperature correction.
- Phone-Powered Operation: Uses only 0.32W from your phone, so no extra batteries are needed for inspections.

Thermal Master P2 Pro
The thermal master P2 Pro is a compact and portable phone-powered thermal imager designed for home diagnostics, electrical inspections, HVAC system checks, and general troubleshooting. Its wide temperature range, adjustable settings, and low power consumption make it ideal for use with both Android devices and iPhones equipped with a Type-C interface.
Key Features:
- Wide Temperature Range & Accurate Measurements: Measuring range from -4°F to 1112°F with an accuracy of up to ±2°C, ensuring accurate readings.
- Adjustable Environmental Parameters: Customizable settings ensure reliable measurement results in any environment.
- Phone-Powered Operation: Uses only 0.33W from your phone, so you don’t need a separate charger.
- Portable, Pocket-Sized Design: Carry it easily anywhere for quick inspections.
- Instant Photo & Video Capture: Capture and share thermal images or videos directly on your phone.
- Professional Measurement Tools: Use smart alarms, isotherms, and adjustable emissivity for accurate temperature readings.
Thermal Master Thor002
and 4x digital zoom, allowing you to inspect target areas in detail without getting close.
It also boasts a wide temperature measurement range, multi-point tracking, and visual alarm functions, helping you make quick assessments during electrical, HVAC, or mechanical equipment inspections.
Key Features:
- High-Resolution Display: 3.5-inch IPS screen with 512×384 X³ IR resolution and 4x digital zoom.
- Wide Temperature Range & Accuracy: Measures -4°F to 1022°F with ±3.6°F accuracy.
- Multi-Point Tracking & Alerts: Center, max, min, and custom points with visual temperature alerts.
- Flexible Working Distance: Effective detection from 3 m to 10 m for HVAC, electrical, or industrial inspections.
- Dual Camera & Picture-in-Picture: 2MP visible camera with PIP and voice note support for reporting.
- Storage & Connectivity: 32GB storage with wireless transmission and compatibility with Windows, iPhone, iPad, and Android.
- Long-Lasting Battery & Durability: 5000 mAh battery with 18W fast charging, IP54 housing, and professional color palettes.
Summary
Thermal imaging cameras can help you uncover hidden problems in your home, such as dampness, insulation defects, air leaks, and electrical hotspots, which might be missed during conventional inspections. Detecting these issues early can save you money, improve safety, and increase energy efficiency.
For home inspections, you can use products from the Thermal Master P1, P2 Pro, and Thor002 series. They offer portable or handheld solutions with clear thermal imaging, a wide temperature range, and convenient connectivity, allowing you to quickly inspect, document, and resolve problems.
FAQs
Is it illegal to have a thermal camera?
In most places, owning a thermal camera is legal. The rules usually come down to how you use it, especially around privacy and specific regulated activities like hunting.
If you are scanning your own property for maintenance, you are generally on safe ground, but you should avoid aiming any camera into areas where people reasonably expect privacy.
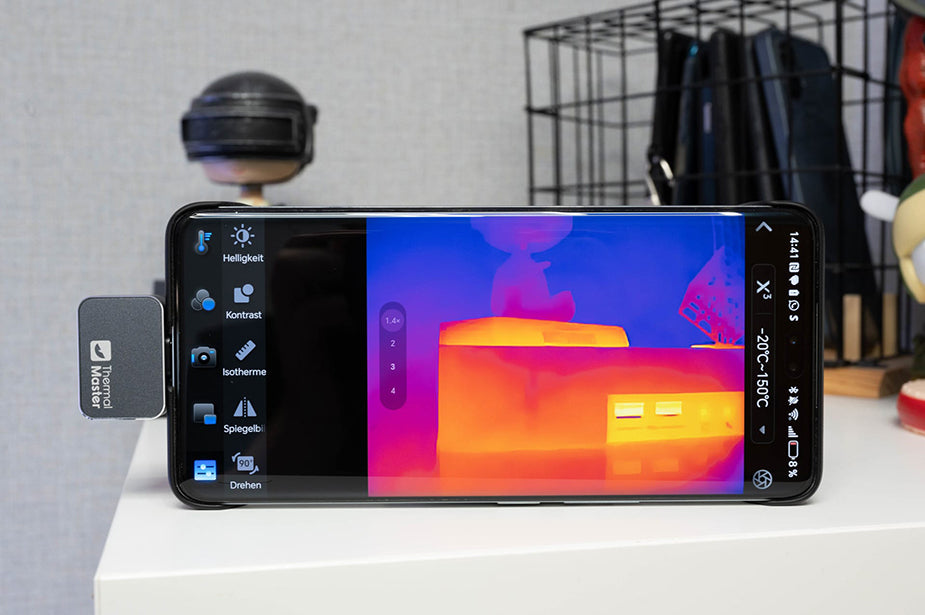
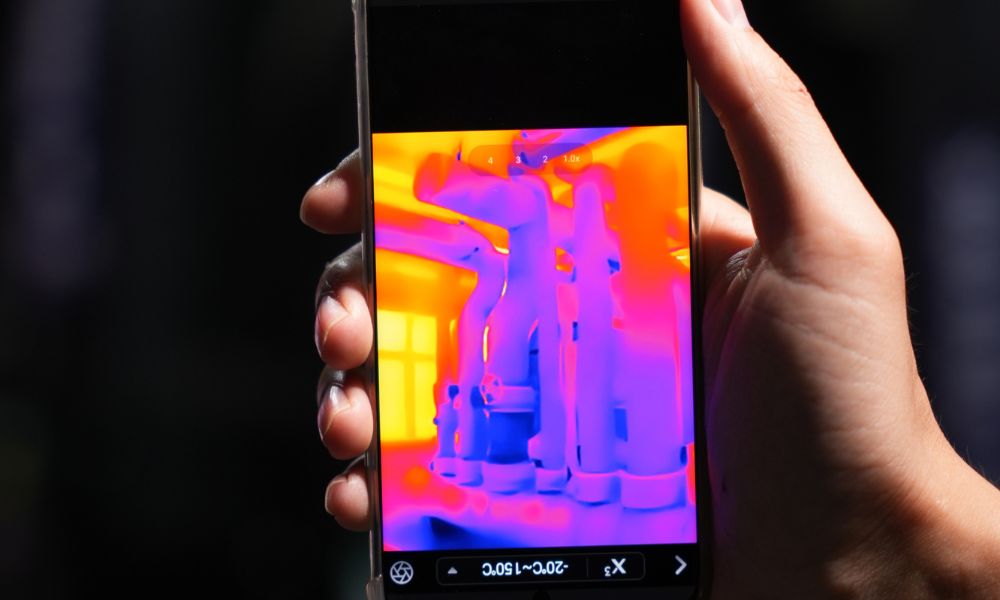
Can I use my phone as a thermal camera?
Yes. Phone thermal cameras plug into your phone and turn it into a thermal imaging tool for quick checks, documentation, and sharing. This is a common format for homeowners and technicians because you can carry it anywhere and generate reports from the same device you already use.
How far can a thermal camera see at night?
Thermal cameras do not need visible light, so darkness is not the limiting factor. Range depends on lens, resolution, target size, and the temperature difference between the target and background. For home inspection, you are usually scanning surfaces across rooms, attics, and mechanical areas, so practical distances are typically a few feet to a few dozen feet rather than long-range spotting.
コメントを書く
全てのコメントは、掲載前にモデレートされます
このサイトはhCaptchaによって保護されており、hCaptchaプライバシーポリシーおよび利用規約が適用されます。